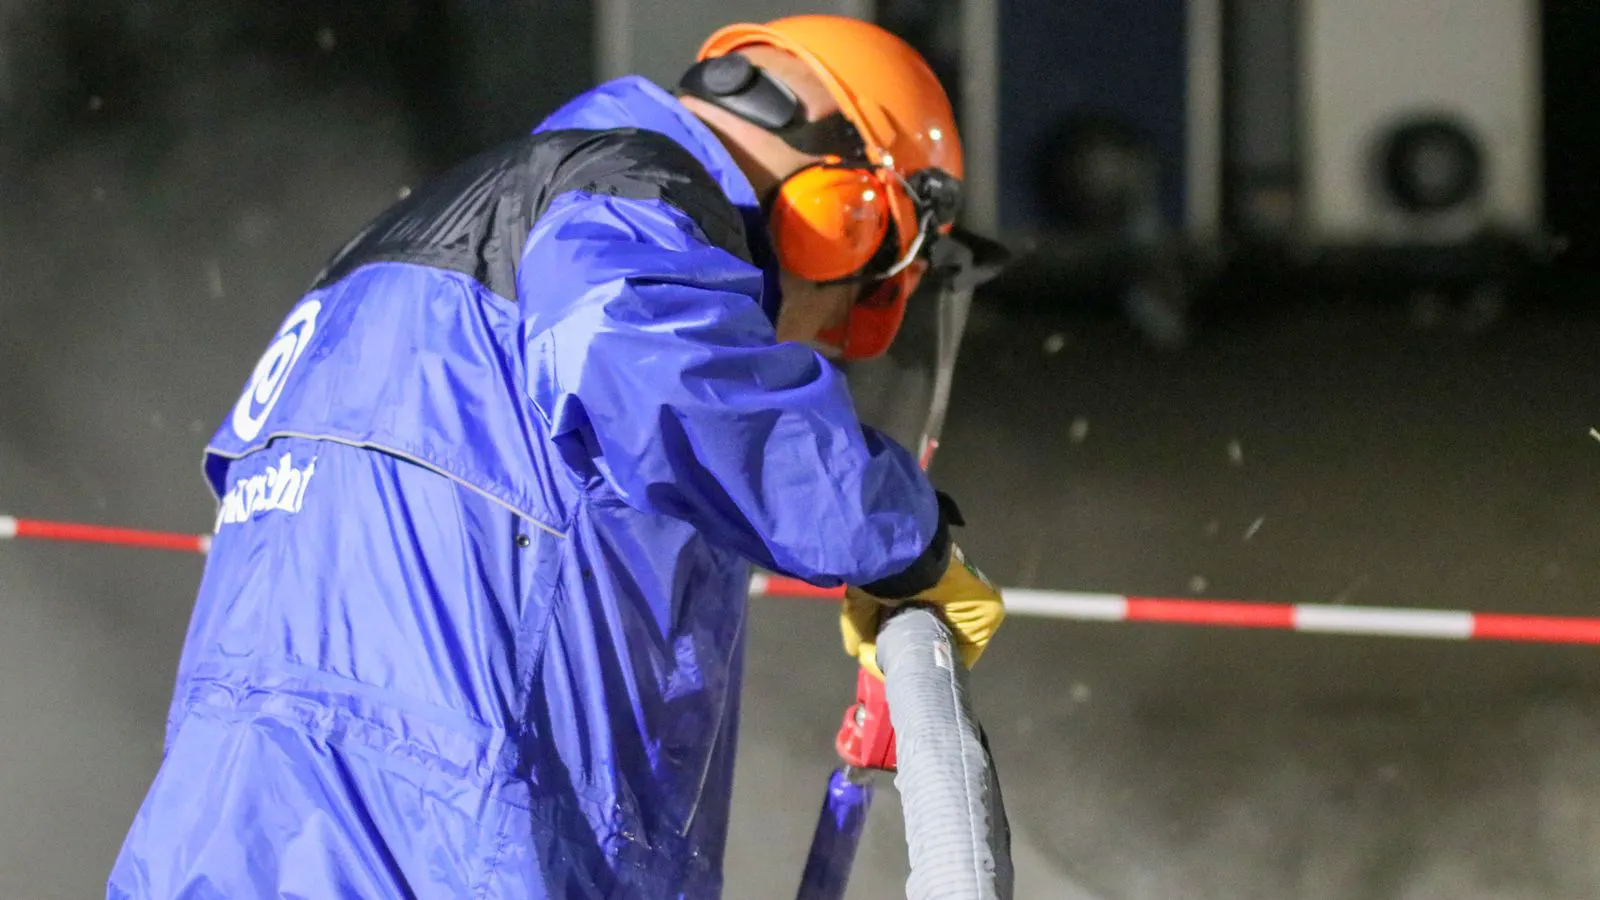
How to Select Face Shields for Welding and Grinding
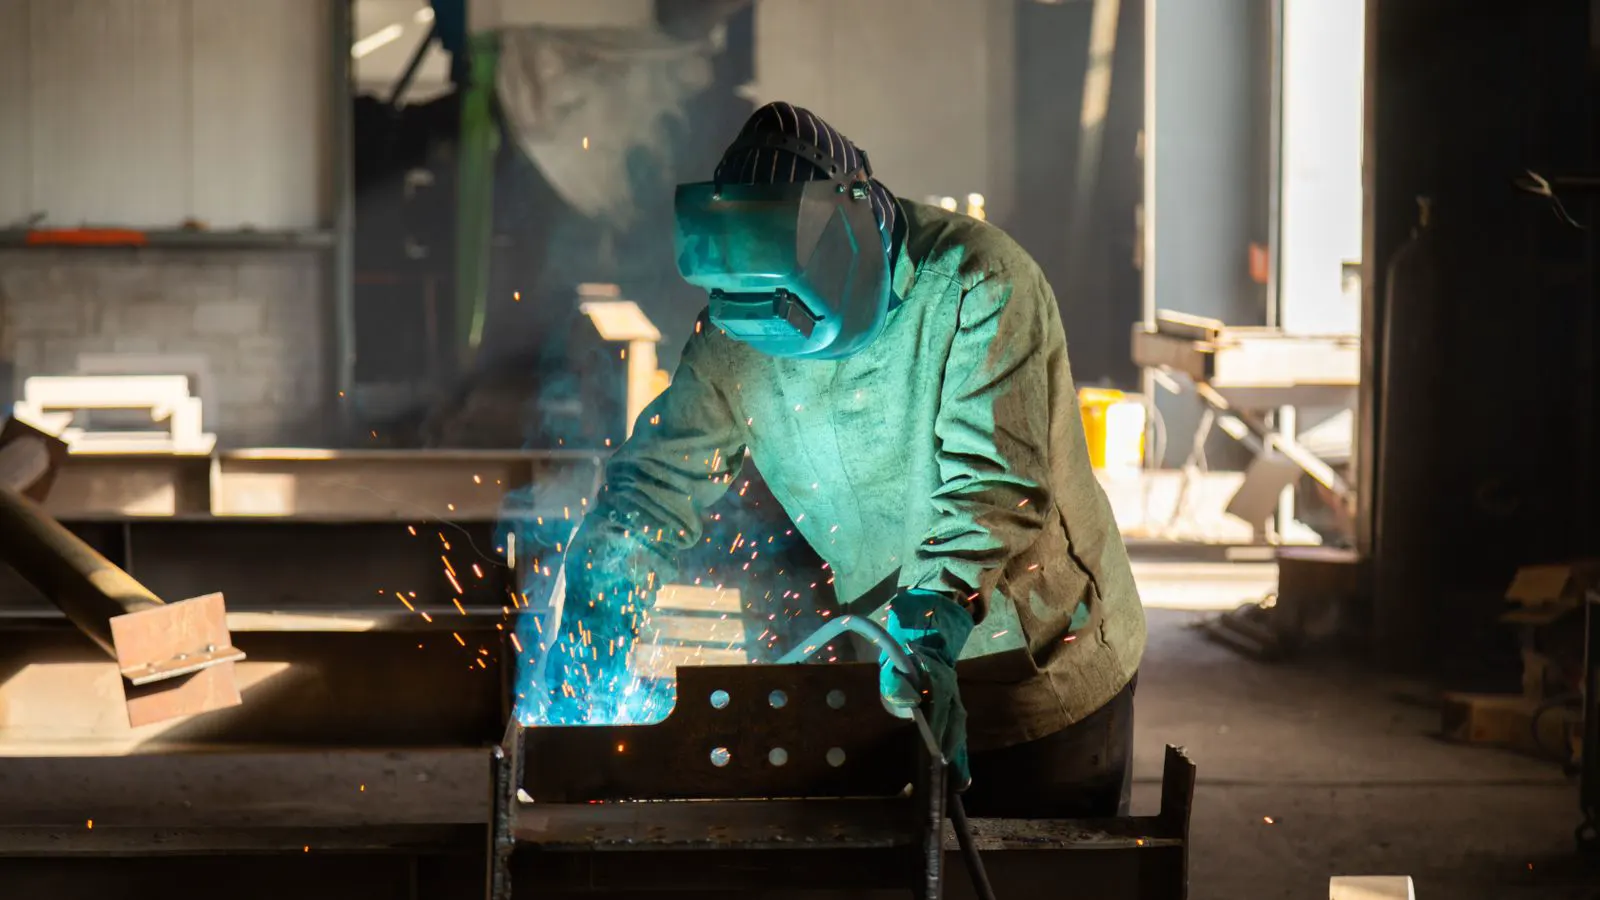
Select a face shield by matching the lens shade to your welding process and adding a grinding insert for particulate protection. Verify the shield covers your entire face and neck, and replace damaged lenses immediately to maintain protection.
- Match the face shield lens shade to the specific welding arc intensity to prevent flash burns.
- Add a separate grinding insert when switching from welding to cutting or grinding tasks.
- Ensure the shield covers the full face and neck to protect against flying particles and heat.
- Inspect lenses for scratches, cloudiness, or cracks before every use.
- Fit the head harness securely so the shield stays in place during active work.
Understanding the Threat Profile
Face shield selection starts with identifying what is actually hitting your face. A welder and a grinder face two different types of danger. Welding produces intense ultraviolet and infrared radiation from the arc. This radiation burns skin and eyes quickly. Grinding produces high-velocity particulates like sparks and metal chips. These fragments can penetrate standard safety glasses and cause lacerations or eye injuries.
Because the hazards differ, the equipment must differ too. You cannot simply buy one piece of gear and use it for both tasks. The lens material, the shade, and the physical structure all change based on the process. A welder needs high attenuation of light energy. A grinder needs impact resistance and scratch tolerance.
Most industrial sites require a layered approach. You start with a base layer of eye protection, then add a face shield over it. The face shield is not a replacement for safety glasses. It is an additional barrier that catches what the base layer misses.
Prerequisites and Site Requirements
Before you touch a catalog or a shelf, gather a few facts. First, confirm the specific welding process. Stick welding, MIG, TIG, and plasma cutting all emit different levels of energy. The higher the amperage, the higher the required shade. Ask your process engineer for the arc intensity.
Second, check the material being worked. Grinding cast iron produces different debris than grinding stainless steel. Some materials throw fine, abrasive dust that scratches lenses faster. Others throw larger, heavier chips that require more impact strength.
Third, review your site rules. Some facilities mandate specific head protection combinations. For example, if you are working in a confined space, the head harness must not interfere with your breathing apparatus. If you are working near overhead pipes, the shield must not obstruct your vision when you look up.
Finally, check your current safety glasses. They must fit snugly without gaps. If light leaks around the temples, the face shield will not stop that light from reaching your eyes.
Step 1: Determine the Correct Lens Shade
The first step in face shield selection is choosing the right optical density. For welding, this is called the shade. The shade number indicates how much of the arc light is blocked. Higher numbers block more.
For stick welding, the shade often sits in the medium to high range depending on amperage. MIG welding usually requires a higher shade than stick welding at similar amperages because the arc is brighter and more consistent. TIG welding often requires a lower shade because the arc is smaller and less intense, but this varies by gas and amperage.
Do not guess. If you use a shade that is too low, you risk flash burns. If you use a shade that is too high, you lose too much visibility and may drop tools or miss hot spots. The shade is the core of the selection process. Get it right first.
Step 2: Choose the Base Lens Material
The lens material determines how well the shield handles impact and abrasion. Polycarbonate is the standard for most industrial face shields. It is lightweight, flexible, and resistant to shattering. This makes it a good choice for grinding and cutting tasks where debris is flying.
Acrylic is another option. It is very clear and offers excellent optical clarity. However, it is more brittle than polycarbonate. If you are doing heavy grinding, acrylic is a poor choice. A single heavy chip can crack or shatter the lens.
For welding, the lens usually has a coating. This coating absorbs the harmful radiation. The base material underneath still matters. Even if the coating works, the lens must not crack from the heat of the arc or the impact of stray sparks.
Step 3: Add a Grinding Insert for Particulate Work
If your job involves both welding and grinding, you need a modular system. Look for face shields with a slot or bay that accepts a separate grinding insert. The insert is usually a clear, scratch-resistant polycarbonate sheet.
You weld with the welding lens in place. Then you remove the welding lens and slide in the clear insert for grinding. This keeps your base eye protection covered while you switch tasks.
Do not try to use a welding lens for grinding. The coatings on welding lenses are not designed to take the abrasion of grinding. They will scratch, cloud over, and become useless for welding after a few sessions. Separating the lenses extends the life of both.
Step 4: Verify the Field of View and Side Coverage
A face shield must cover the entire front of the face. But it also needs to cover the sides. Sparks from grinding can travel laterally. They do not always go straight at you. If the shield curves inward too much, it may leave gaps at the temples.
Check the side coverage. Look for a frame that extends past the ears. Some shields have a wider curve that wraps around the head. This is better for grinding. Narrower shields are fine for welding in a controlled position, but they offer less protection if you move suddenly.
Also check the top coverage. You need to see overhead hazards. If the top of the shield sits too low, you cannot look up. If it sits too high, it may be unstable and fall forward.
Step 5: Assess the Head Harness and Fit
The best face shield is useless if it falls off during work. The head harness is the part that keeps it in place. Look for a five-point harness. It has two straps over the ears, one behind the head, and two around the forehead. This distributes weight evenly.
Adjust the harness so the shield sits close to your face. If there is a large gap, debris can enter. If it is too tight, you will get headaches. The fit should feel secure but not painful.
Check the adjustment range. If you wear a hard hat, the harness must fit under it. Some harnesses are designed to sit under a brim. Others sit under a round crown. Test the fit with your actual hard hat on.
Step 6: Match the Shield to the Specific Process
Different processes demand different configurations. For plasma cutting, the arc is very bright and throws a lot of sparks. You need a higher shade and a shield with good side coverage. For TIG welding in tight spaces, you may need a narrower profile to fit around pipes.
For grinding, the priority is impact resistance. Use a clear insert over your safety glasses. For cutting, use the same setup. The key is to match the equipment to the worst case scenario in your task list.
If you are unsure, choose the higher protection level. It is better to have slightly less visibility than to take a spark to the eye.
Step 7: Inspect and Maintain the Lens
Face shield selection is not a one-time event. You must inspect the lens every day. Look for scratches, cloudiness, and cracks. Even a small scratch in a welding lens can scatter light and cause discomfort. In a grinding insert, a scratch can trap debris.
Clean the lens with a soft cloth and a safe cleaning solution. Do not use harsh chemicals that can damage the coatings. Store the shield in a protective case when not in use. Keep it away from heat sources.
Replace the lens if it is damaged. Do not try to repair a cracked welding lens. The coating is compromised. A cracked grinding insert is a liability.
Common Mistakes to Avoid
The most common mistake is using a single lens for all tasks. Welding and grinding are different jobs. They require different protection.
Another mistake is ignoring the base layer. Many workers skip safety glasses under the face shield. This is dangerous. The face shield is not designed to be the only line of defense. It is a backup. Always wear safety glasses.
A third mistake is poor fit. If the shield is loose, it will move. If it moves, it will not cover you. Take time to adjust the harness.
Finally, do not ignore the hard hat. If you need a hard hat, make sure the face shield harness fits under it. Do not stack them in a way that creates pressure points.
Final Verification
Before you start work, do a final check. Put on your safety glasses. Put on the face shield. Adjust the harness. Check the lens. Make sure it is clean and undamaged.
Look at your field of view. Can you see your hands? Can you see overhead? Can you see to the sides? If the answer is no, adjust the fit or change the lens.
Once you are confident in the setup, proceed with the task. Remember that face shield selection is a process. It requires attention to detail and a willingness to match the gear to the job.
| Task | Recommended Lens | Key Consideration |
|---|---|---|
| Stick Welding | Medium to High Shade | Match shade to amperage |
| MIG Welding | High Shade | Consistent bright arc |
| TIG Welding | Low to Medium Shade | Smaller, less intense arc |
| Grinding | Clear Insert | Impact and scratch resistance |
| Plasma Cutting | High Shade | Intense light and sparks |
Final Thoughts
Choosing the right face shield is about matching protection to the hazard. Welding requires light attenuation. Grinding requires impact resistance. By selecting the correct shade, material, and fit, you protect your eyes and face from serious injury. Always wear safety glasses underneath. Always inspect your gear. And always choose the setup that covers the worst case in your task list.
Frequently asked questions
Can I use the same face shield for welding and grinding?
You can use the same frame, but you must change the lens. Welding requires a shaded lens. Grinding requires a clear, impact-resistant insert.
What is the difference between a face shield and a welding helmet?
A face shield is a static piece of equipment. A welding helmet has an auto-darkening lens that reacts to the arc. A face shield requires manual lens changes.
How do I know if my face shield is too loose?
If the shield moves when you turn your head, it is too loose. Adjust the harness straps to eliminate any gap between the shield and your face.
Can I clean my face shield with any liquid?
No. Use a soft cloth and a mild, alcohol-free cleaning solution. Harsh chemicals can damage the optical coatings.
How often should I replace a grinding insert?
Replace it when it is scratched, cloudy, or cracked. There is no fixed time. Inspect it before every use.